When churches first join ChMeetings, or when they’re juggling multiple giving platforms, it’s common to struggle bringing all that data into one place.
Spreadsheets look different from provider to provider. PayPal, CashApp, or Tithely, for example, all export files in their own formats. Some systems bundle net vs. gross amounts differently, some don’t include batch numbers, and member names may be split or not.
Without a clear import tool, admins are left spending hours reformatting columns, copying and pasting, or worse; manually entering each gift into ChMeetings even though the data is already in a digital format. That’s frustrating, hinders accurate reporting, and risks losing track of gifts that members entrusted to the church. We’ve recently enhanced the Import Giving Tool, and it’s well worth telling you about what it’s all about.
Meet Our Purpose-Built Giving Import Tool!
The Import Giving Tool in ChMeetings was designed to take that burden off your shoulders. Instead of forcing you to clean up messy data by hand, it adapts to what you already have.
Here’s how:
- Import Using our Custom CSV/Excel template: Download the ready-made file from ChMeetings and paste in your data. No matter what system you’re coming from, you can make it fit the required fields by switching columns around, or adjusting headings, for example. This option needs a bit of effort, but it works! It gets your data imported to ChMeetings in much less time than manual entry!
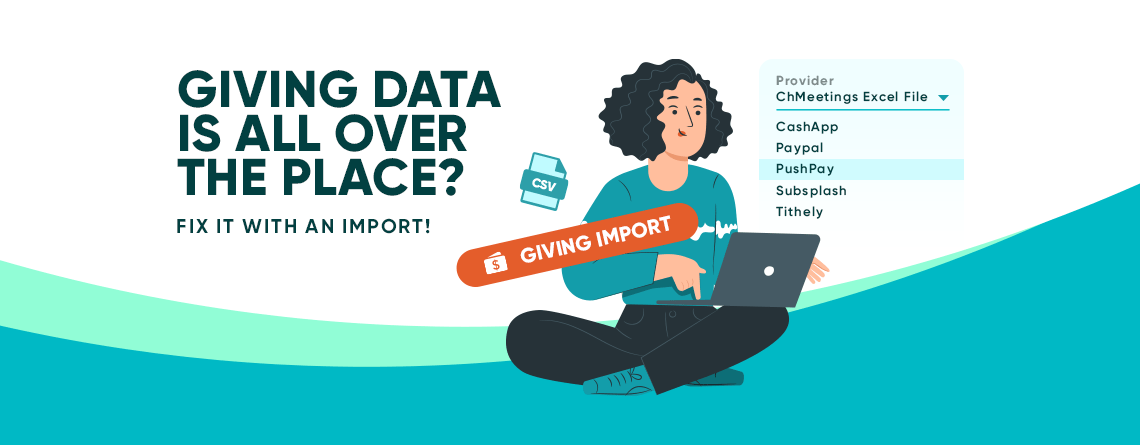
- Import Using Files from a Provider: If your church uses CashApp, PayPal, PushPay, Subsplash, or Tithely, you don’t even need to use the custom template. ChMeetings can accept their export files directly.
Regardless of the method, your Funds and Batches are created automatically during import, so you don’t have to add them manually either. This flexibility makes it easier for our new users to migrate, and for established churches using multiple giving systems to finally bring everything under one roof.

How to Import Giving, Step by Step?
Here’s a quick overview of the steps you need to take to import giving into ChMeetings;
- Choose your starting point:
- If your provider is not compatible, start by downloading the ChMeetings Giving template. Add in gift details like Fund, Amount (gross), Date, Batch, etc.
- If you’re exporting from a compatible provider (CashApp, PayPal, PushPay, Subsplash, or Tithely), make sure you have the export file from your external system.
- Upload the file: In ChMeetings, go to Settings > Tools > Import Giving. Upload your template or provider file.
- Check the mapping: Review how ChMeetings matched the columns in your file to its own fields. If something doesn’t line up, make any required changes to the file you uploaded, and repeat steps 3 and 4 (by reuploading the file and checking mapping again).
- Complete the import: Once everything looks good, confirm the import. Your giving records will appear in ChMeetings immediately (under Contributions > All Contributions).
That’s it! Your giving is now all in one place, ready to flow into reports and the Accounting module, also available with ChMeetings.
If you’d like to read a more in-depth guide, check out our Help Center.

We Import Your Giving Data For Free
Whether you’re new to our community or already seasoned and managing multiple giving streams, the Import Giving Tool gives you control, saves hours, and helps your church steward its finances with confidence.
If you’re new to ChMeetings and are still hesitant to go through this yourself, we got you covered! We’ll import your giving (and other data from previous systems) for free, if you subscribe to any paid plan. Here’s how this works.